One of the things we frequently get asked on the stand and in correspondance, is how do I fit the glazing? The easiest way to describe this is to show you, so this is a quick technique and tip posting on fitting our glazing to a 4mm scale class 47. We will also add a few more hints and tips on how to use our nameplates and etched components to this blog later this year. This will help you get the best out of our products and your models. The glazing technique shown here is the standard one we use at Shawplan, and we’ve found it works across all the scales and window types we produce.
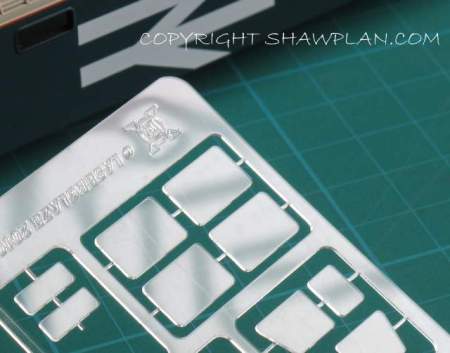
Since we started producing the glazing we have changed the way we cut the transparency fret. If you’ve bought one of our earlier releases they are on a sprue in a similar fashion to a traditional Airfix kit, and you can see in the following images we’ve used an older fret.
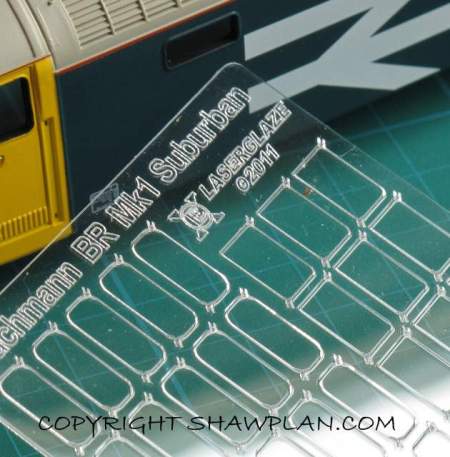
The current windows are supplied as a push out window, see the image of the BR MK1 suburban fret above. There is no difference to the size or shape of the components, but this is a more effective production method, and all future releases are anticipated to be in this style. The laser is set to cut the material so that all you need to do is gently flex the material whilst applying gentle pressure on the window you want and they will drop out. One thing we have found is that window aperatures on models can vary significantly. This is not generally noticeable but when laser cutting it makes a huge difference. If on a fret we indicate a window for a specific aperature or window, please make sure you use the correct one. An easy way to ensure this is to use non permanent OHP pens to mark the window. Even factory paint thickness can have an effect, so often there is a need to just sand the window or aperature to get the flush fit. 1500 wet and dry grade paper is a good starting point to remove very small amounts of material from either the body or the window. For fixing the windows you can use a variety of adhesive materials. We find Deluxe Materials Glue ‘n’ Glaze works particularly well and is very easy to use with the micro applicator supplied, very thin gloss varnish also works well, using capilary action to run the varnish around the aperature before drying and setting. PVA or ‘Canopy’ glue can also be used with just a very small amount applied in a corner or around the perimeter of a window. We have been told superglue works but there is the potential of paint damage by chemical reaction ‘blooming’ on some manufacturers finishes, so we would advise particular care if trying that technique.
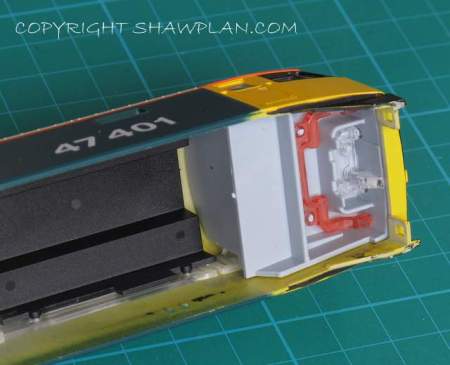
This is typical of many diesel and steam locomotives today, take note of any particular pieces that may be light conduits from LED’s before removal.
With this model we supply cab and body window glazing, so remove the black inserts for the roof fans, and then the cab interior. Some interiors are glued in so be prepared to cut away glued areas.
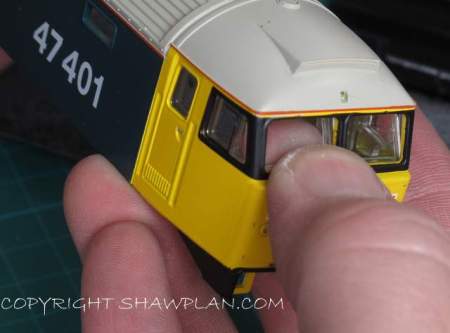
On this model gentle inward pressure on the glazing made it fall inwards makeing removal easy. Be prepared as glue amounts vary from model to model within manufacturers ranges. This is true of rolling stock as well as locomotives.
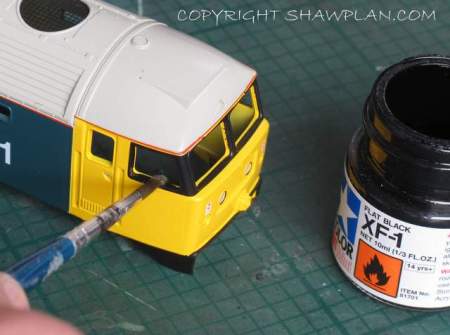
Once the windows are removed, touch in any areas with the body surround color, this makes a noticeable improvement where there is a thick body side.
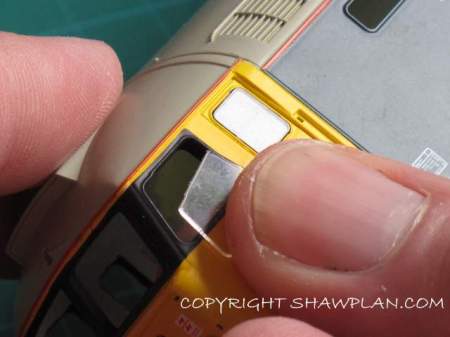
Test fit each glazing piece, if possible slide the transparency in as flat as you can this helps it sit better, and any fit problems are easier to see.
If the aperature is too small the glazing will sit ‘proud’ of the aperature. In this instance we used wet and dry to take a few thou from the door pillar and base of the glazing transparency. It’s usually obvious which to work on, the body or the glazing transparency and once you’ve done one or two it’ll become intuitive which is the easier component to work on.
Each glazing panel will be custom fitted to your model, there are two options on fitting. You can fit them as you go fixing them and then moving on to the neext panel after they have set. This particular model has more work to be done to it, so using the OHP pen each panel is marked as is the corresponding window on the model. This means they can be stored safely and fixed after the rest of the conversion work has been completed.
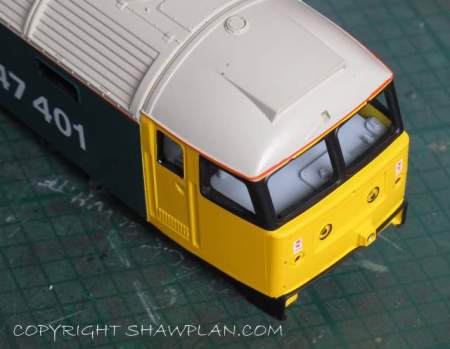
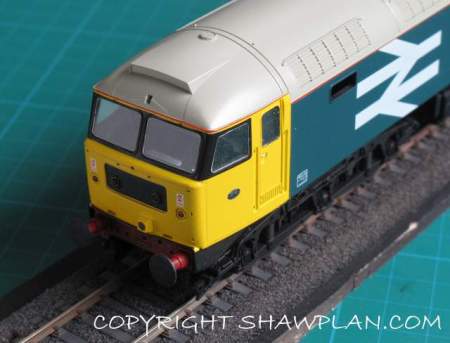
This is the finished effect, the last touch is to run a black marker pen or paint around the edge of the window glazing, this kills any refraction of light through the edge. The difference can be seen comparing the door(treated), and cab side window. The door window edge has dissapeared, but there’s still a slight refraction on the cab side glazing.
This weekend, 4th August we are at STORMex, Cheltenham, and on the 18th and 19th we’re attending Midland Railex at Ripley. See the Show Diary page for full details. At the end of the month we are closed from 24th August to 3rd September, and we look forward to seeing you soon in August or during the Autumn season. Full details of shows we are attending are in the diary section.





 Posted by shawplan